In this blog post, we will use Flask to create a webapp that accepts messages from users, stores them in a database, and displays them randomly.
Relevant Github Repository: https://github.com/asmit-a/blog-post-2
1. Setting up our web app
-
setting up app.py with its pages
- setting up base.html and submit.html and view.html
- setting up css
We first create a file called app.py in which we will store all of our python code. At the top of the file, we import the packages we will need for this:
import sqlite3 as sql
import click
from flask import current_app, Flask, g, render_template, request
from flask.cli import with_appcontext
Now that we have the appropriate packages, we can move on to the routing. We will have three pages: base.html, which will be the home page of our webapp; submit.html, which will contain the form to which users can submit their messages; and view.html, where users can view random messages from the message bank.
Let us first consider base.html. This file should contain the basics of the webpage.
<!DOCTYPE html>

<link rel="stylesheet" href="{{ url_for('static', filename='style.css') }}">

<title>{% block title %}{% endblock %} - PIC16B Website</title>

<nav>
    <h1>A Simple Message Bank</h1>
    <!-- <b>Navigation:</b> -->
    <ul>
      <li><a href="{{ url_for('submit') }}">Submit a message</a></li>
      <li><a href="{{ url_for('view')}}">View a message</a></li>
    </ul>
</nav>

<section class="content">
    <header>
        {% block header %}{% endblock %}
    </header>
        {% block content %}{% endblock %}
</section>
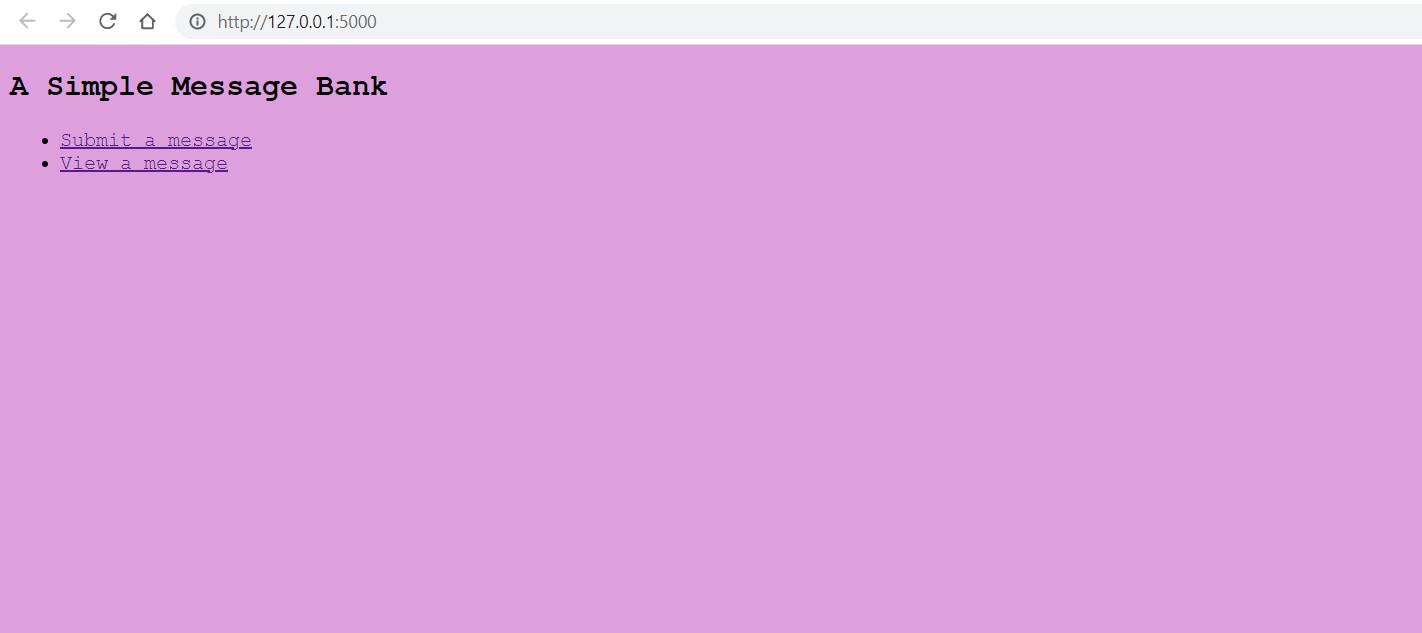
This page will contain a title at the top, which will vary depending on which specific page we’re on. It also contains a navigation section, which allows users to access the “Submit a message” page and the “View a message” page. We also include a content block, which will be populated in the submit.html and view.html files.
This home page will look as follows:
Let us now consider submit.html, which will extend base.html.
{% extends 'base.html' %}

{% block header %}
    <h1>{% block title %}Submit{% endblock %}</h1>
{% endblock %}

{% block content %}
    <form method="post">
        <label for="message">Your message:</label>
        <input type="text" name="message" id="message">
        <br>
        <br>
        <label for="name">Your name or handle:</label>
        <input type="text" name="name" id="name">
        <br>
        <br>
        <input type="submit" value="Submit message">
    </form>

    {% if thanks %}
        Thanks for submitting a message, {{name}}. Your message says: "{{message}}"
    {% endif %}

{% endblock %}
We set its title to “Submit” in the Jinja title tags, and then create a form within the content tags. This form takes in a message, with an assigned name and id of “message”, as well as a name, with an assigned name and id of “name”. These names and ids will allow us to later retrieve user input from the form.
We also set up an if-statement at the bottom, which will display text in the event that a variable (thanks) is set to true. We will see how this works later, when we talk about the python portion of this web page.
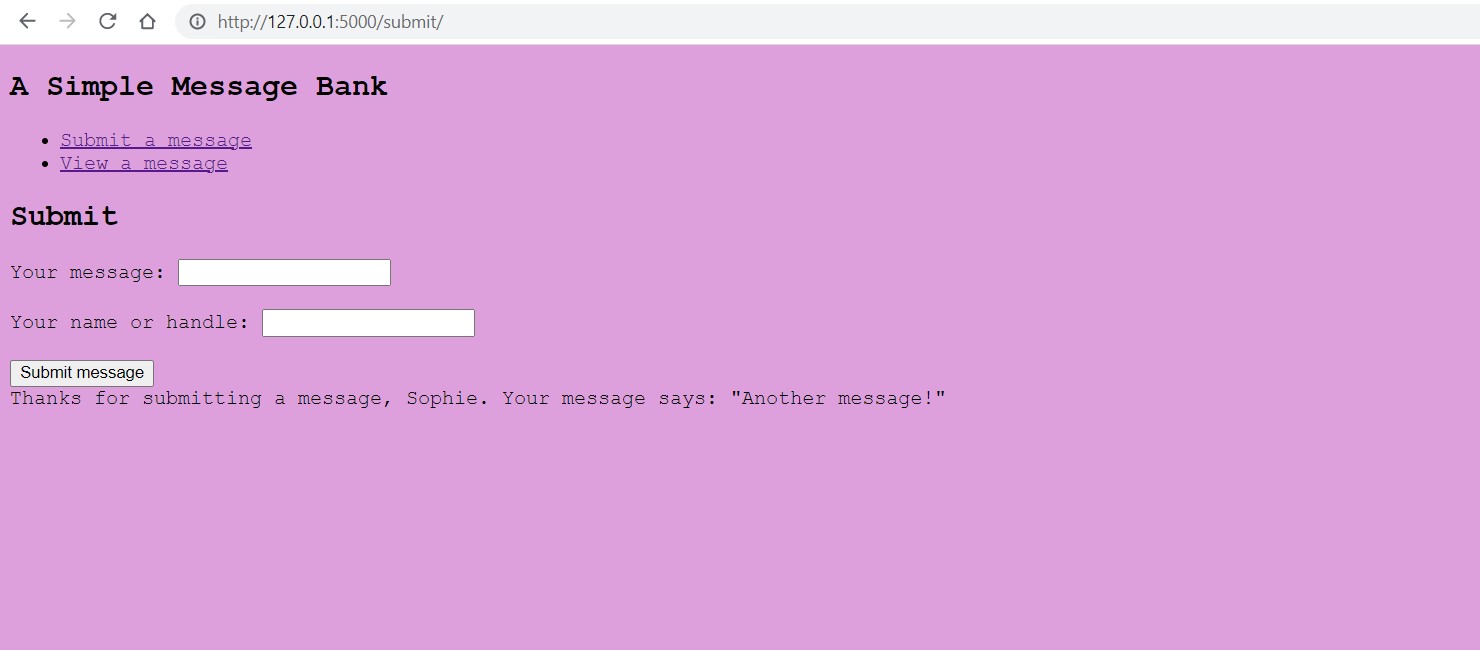
When rendered, the submit.html page will look like this:

Finally, we look at view.html, which again extends base.html.
{% block header %}
    <h1>{% block title %}View{% endblock %}</h1>
{% endblock %}

{% block content %}

    {% for entry in row %}
    <p>"{{entry[1]}}" from {{entry[2]}}</p>
    {% endfor %}


{% endblock %}
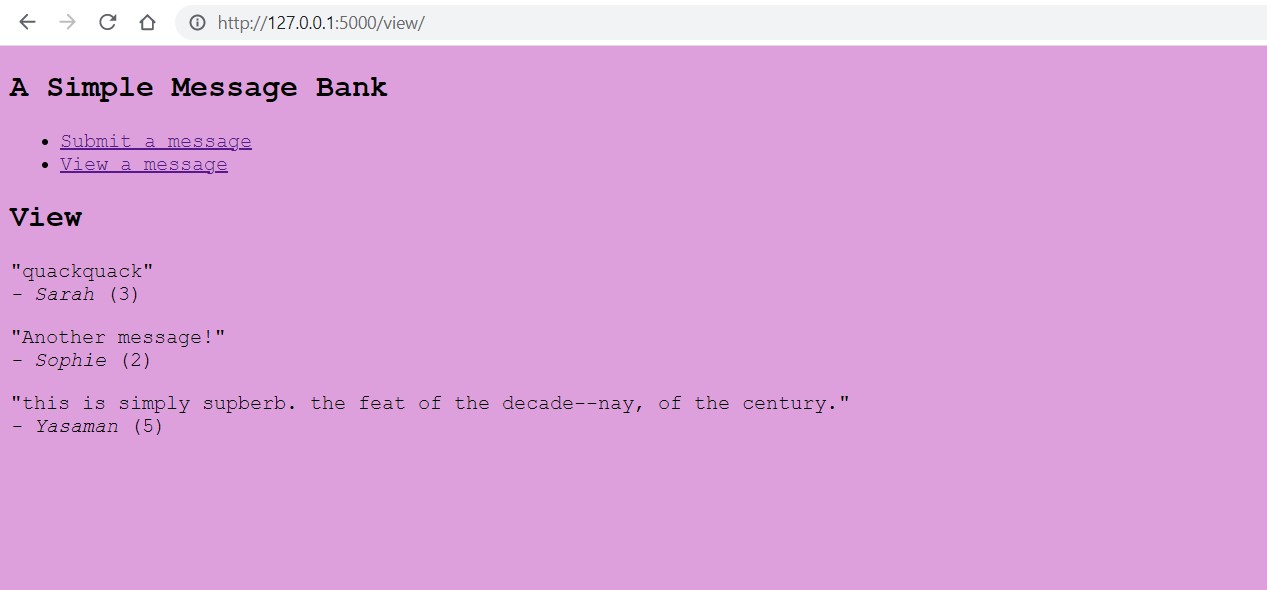
Within the title Jinja tags, we set the title to “View”. We then use a for-loop within the context Jinja tags to loop through all the elements in a list of rows and print specific entries from each row. As we will later see (upon inspecting app.py), this variable row is a list of n random rows from the database we created. On view.html, we look at each of these n random rows and print the message and name from these rows using subscripting of Jinja tags.
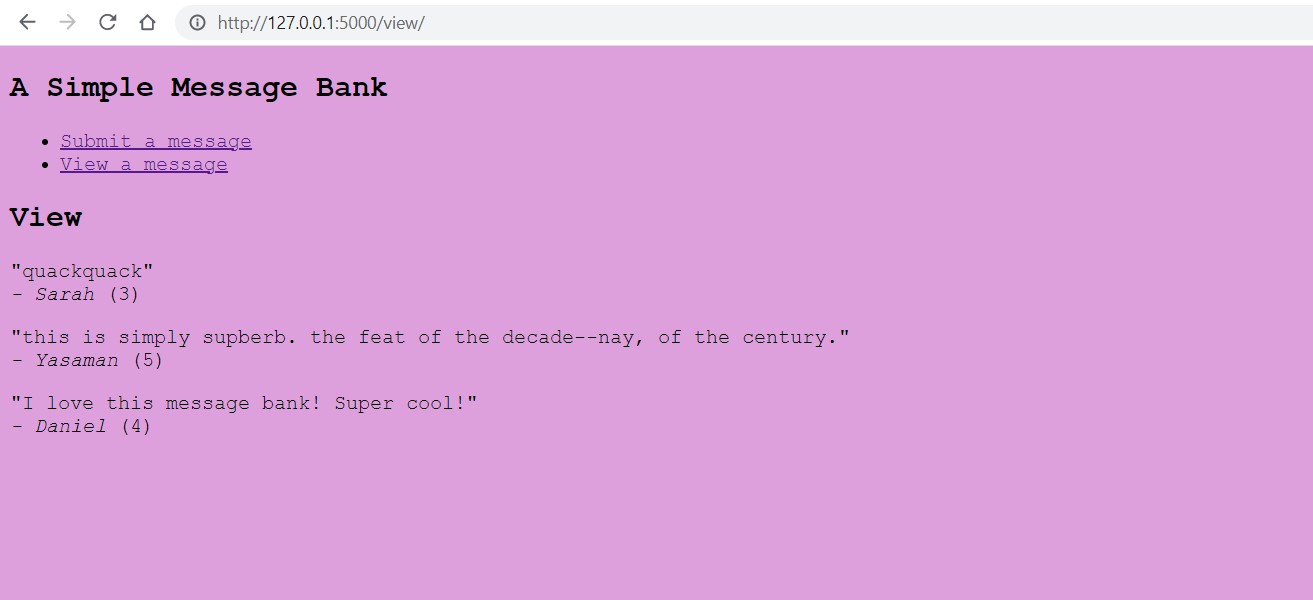
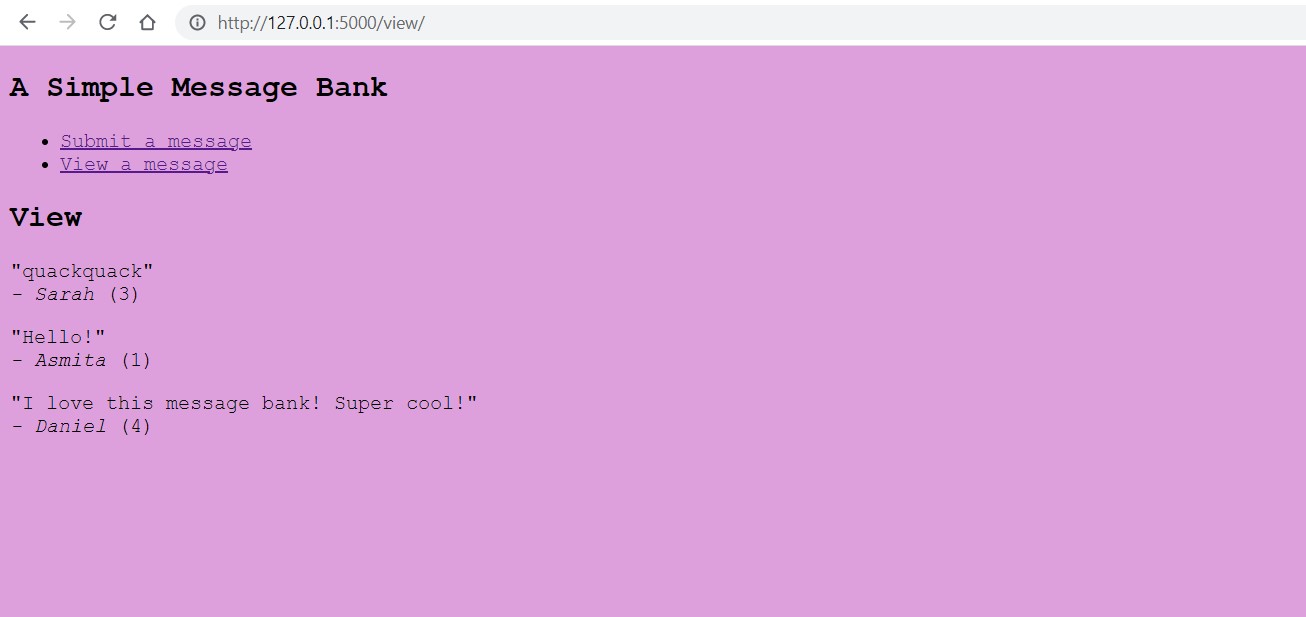
Here is one possible way view.html may appear:
2. Setting up our database
Let us now dive into the structure of app.py. Our first step is to set up our app, and then create a database, in whiche we create a table called “messages” if no such table already exists. This table contains three columns: message, name, and ID. The message and name are self-explanatory; the ID is a unique number which marks order in which users submitted their messages (i.e. the first user’s submission has an ID of 1, the second user’s has an ID of 2, and so on). Once we are done, we close the connection.
app = Flask(__name__)

conn = sql.connect('message_db.db')
conn.execute('CREATE TABLE IF NOT EXISTS messages (id INTEGER, message TEXT, name TEXT)')
conn.close()
We also want to define an insert_message function, which will take in a request from the web form and input its data into the database. We must extract the message and the name from the request, and then insert it using an SQL command. We can figure out what number to set the ID of the message to by calculating the number of rows that are currently in the table and adding 1 to it. Once we are finished, we commit and close our database.
def insert_message(request):
    message = request.form["message"]
    name = request.form["name"]

    conn = sql.connect('message_db.db')
    c = conn.cursor()
    c.execute("SELECT * FROM messages")
    number_of_rows = 0 + len(c.fetchall())
    c.execute("INSERT INTO messages (id, message, name) VALUES (?, ?, ?)",
                (number_of_rows + 1, message, name))
    conn.commit()
    conn.close()
    return
In addition, we will define a function called random_messages, which takes in an integer input and returns a list of n random rows from our database. We can use a special SQL command to do so. Again, we close the database once we are done using it.
def random_messages(n):
    conn = sql.connect('message_db.db')
    c = conn.cursor()
    c.execute(f"SELECT * FROM messages ORDER BY RANDOM() LIMIT {n}")
    rows = c.fetchall()
    conn.close()
    return rows
All that’s left to do is set our routes. First, we must set our home page to render base.html.
@app.route("/")
def main():
    return render_template("base.html")
We then set up the route of the submit page. This page has two methods, POST and GET. The GET method displays the regular submit form. The POST method calls the insert_message function on the submitted request, and then renders a slightly modified version of submit.html. This modified version includes a thank-you message which addresses the user by name and echoes their provided message; we do this by setting the message and name variables to the provided message and name (which we extract using request.form[]), and the variable thanks to True (recall the if-block in our submit.html page).
@app.route('/submit/', methods=['POST', 'GET'])
def submit():
    if request.method == 'GET':
        return render_template("submit.html")
    else:
        message = request.form["message"]
        name = request.form["name"]
        try:
            insert_message(request)
            return render_template("submit.html",
                                    message = message,
                                    name = name,
                                    thanks = True)
        except:
            return "An error!"
The final page we must create a route to is view.html. The function view which defines this page will first retrieve a list of random rows from our database by calling the function random_messages (we can input any number into the function; I arbitrarily chose 5). We then return a render_template that contains the list of rows as an additional argument (recall how messages and names are later extracted from this list in order to complete view.html).
@app.route('/view/')
def view():
    try:
        rows = random_messages(5)
        return render_template("view.html",
                                row = rows)
    except:
        return "Error!"
3. Customizing our app
Our last step is to add some styling to our app! We can achieve this through the use of a simple CSS stylesheet, which we will call style.css and place in a folder named static.
We’ll keep it simple, and our background color and font family. We can do so with the following CSS code, written within style.css:
html {
    background-color: plum;
    font-family: 'Courier New', Courier, monospace;
}
In order to add it to our webapp, we must include the following line at the top of app.py, just under our <!DOCTYPE html> declaration:
<link rel="stylesheet" href="{{ url_for('static', filename='style.css') }}">
This tells base.html to reference the stylesheet during rendering. Since all of the HTML files we use in this webapp extend from base.html, this styling will apply to every page.
The result is a webpage that is a nice plummy purple, with all of its text written in Courier. And voila! Our webapp is complete.
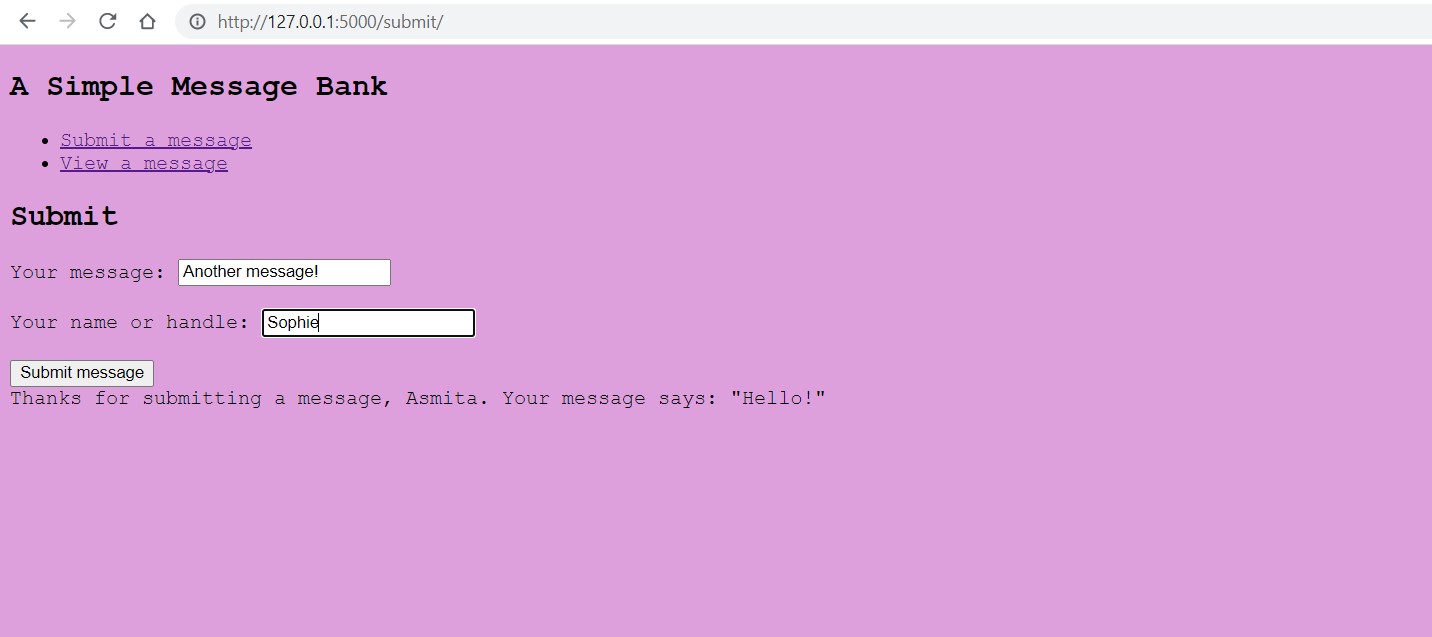
Below is a series of screenshots that illustrates the functionality of the webapp. In these screenshots, we input the following message/name pairs:
-
message: “Hello!” name: Asmita
-
message: “Another message!” name: Sophie
-
message: “quackquack” name: Sarah
-
message: “I love this message bank! Super cool!” name: Daniel
-
message: “this is simply supberb. the feat of the decade–nay, of the century.” name: Yasaman
For our viewing page, we set the input of random_messages to 3. The following webapp results: